• Promotion — free delivery nationwide, no minimum · 3–7 days
Maithongcharoen
Fitting guide

Fit it yourself, step by step, down to the last corner

Fewer than ten tools are actually needed, and most jobs that go wrong go wrong at a corner rather than at the adhesive. This is the order the work is done in, with drawings of the internal and external mitre to read before the saw is set for the first time.

Cut-to-size cannot be returned, because it cannot be resold — measure before you order, and this page is the order to measure in.

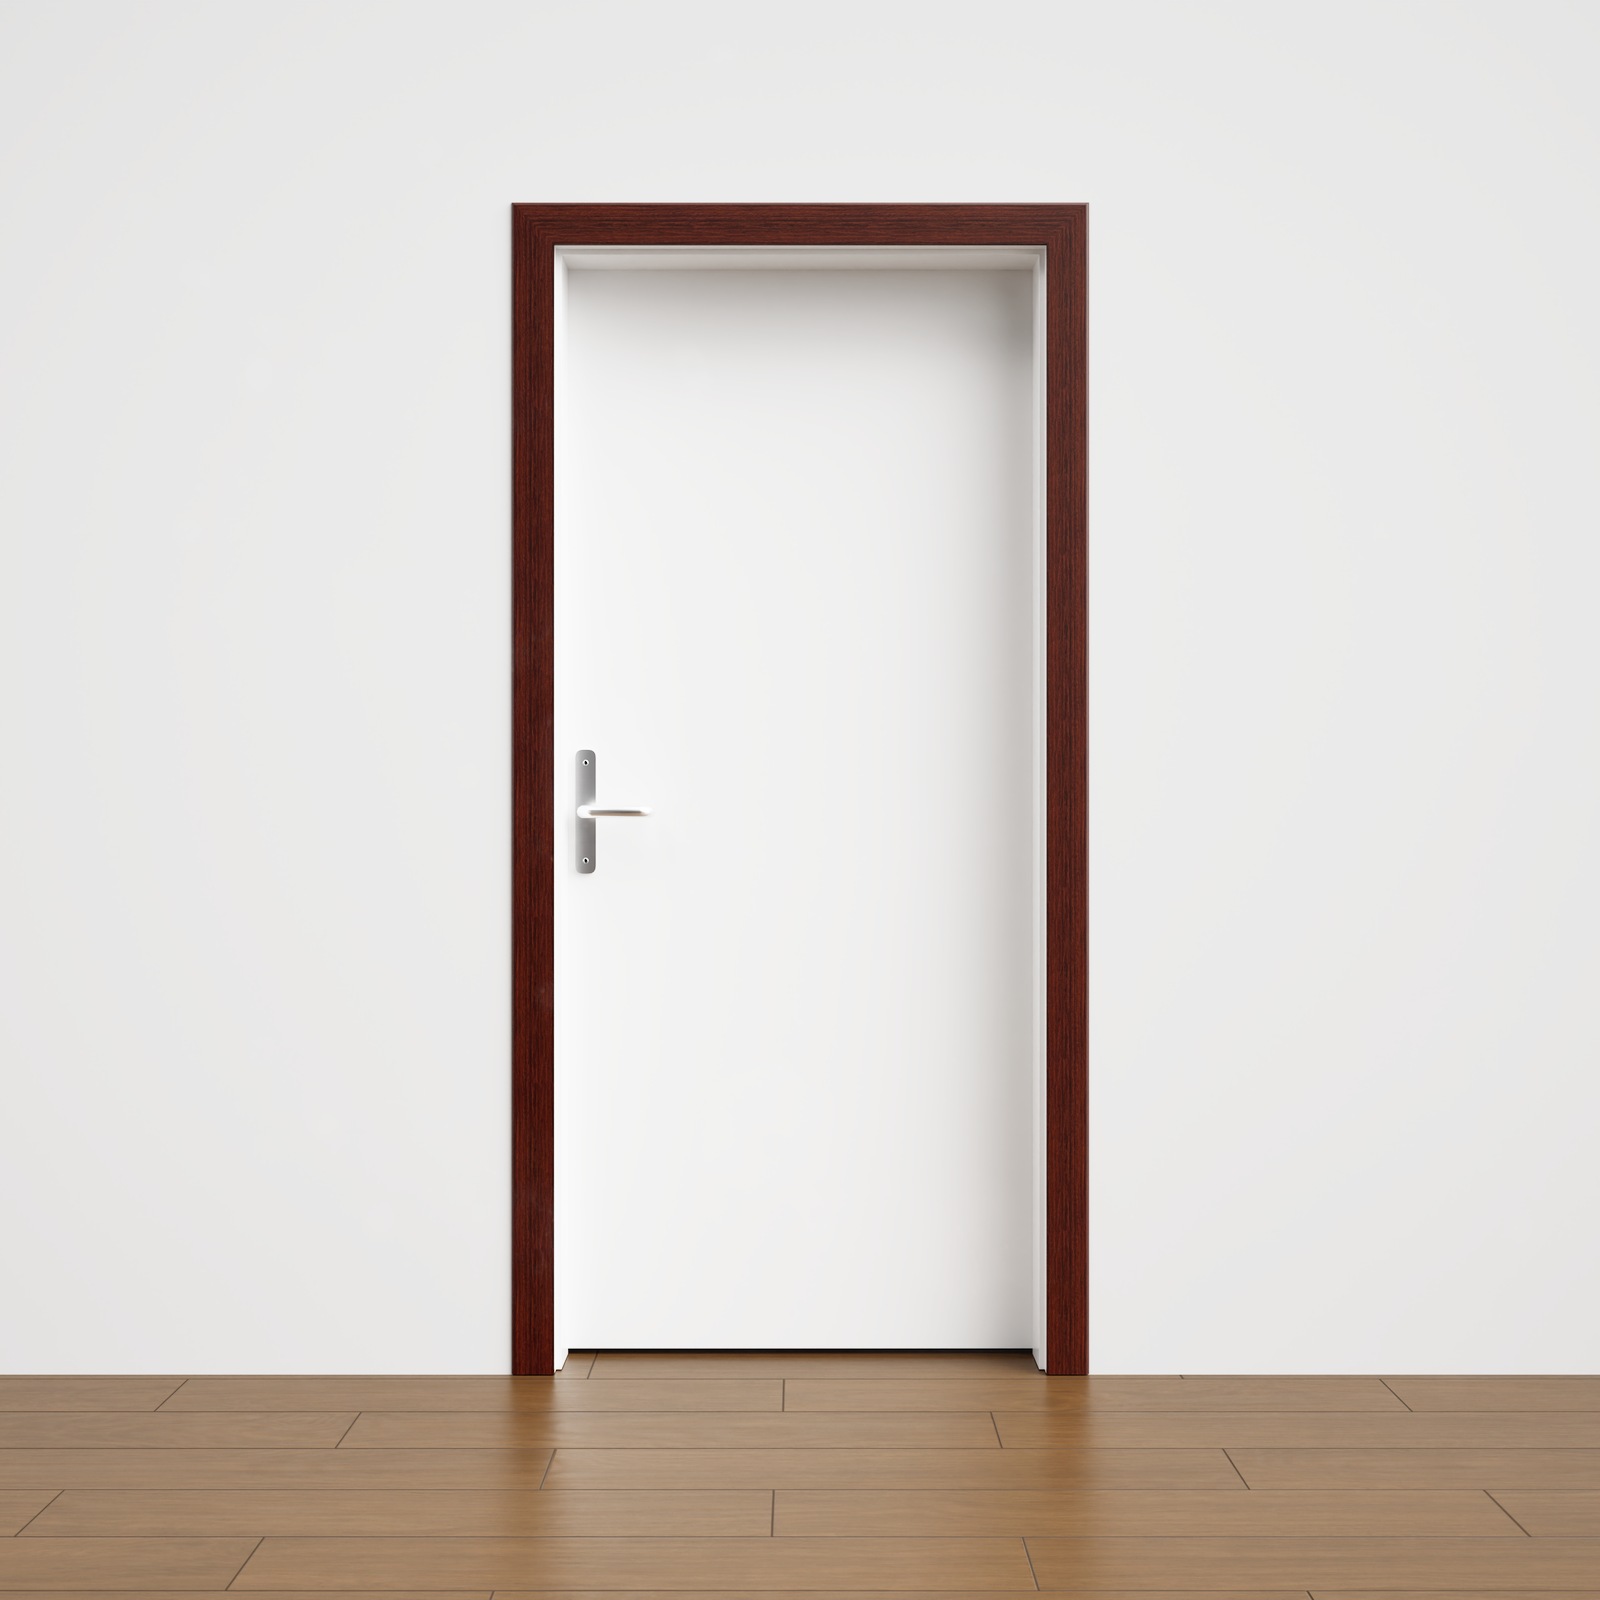
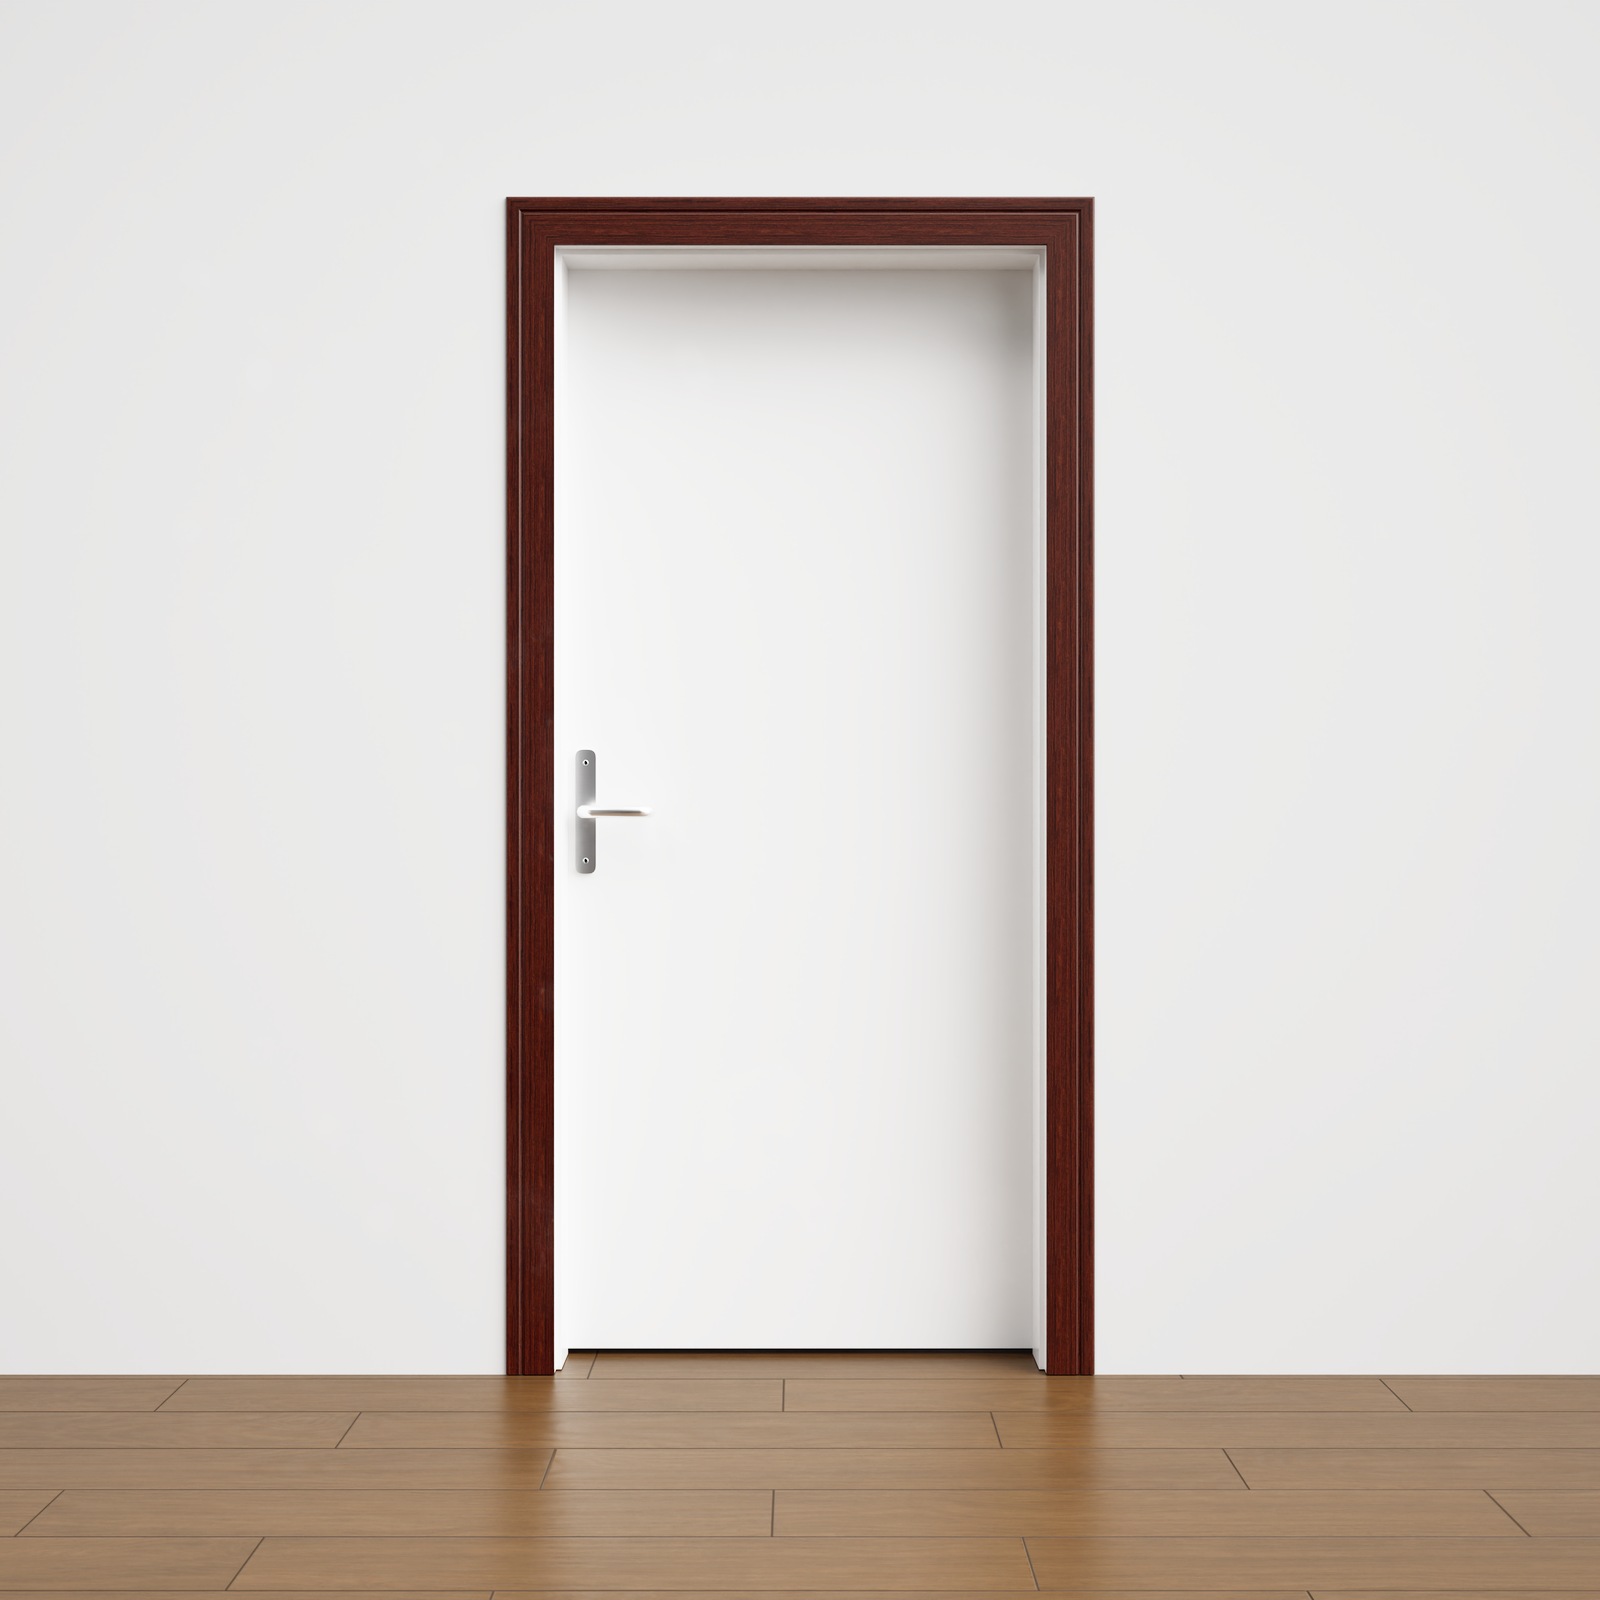
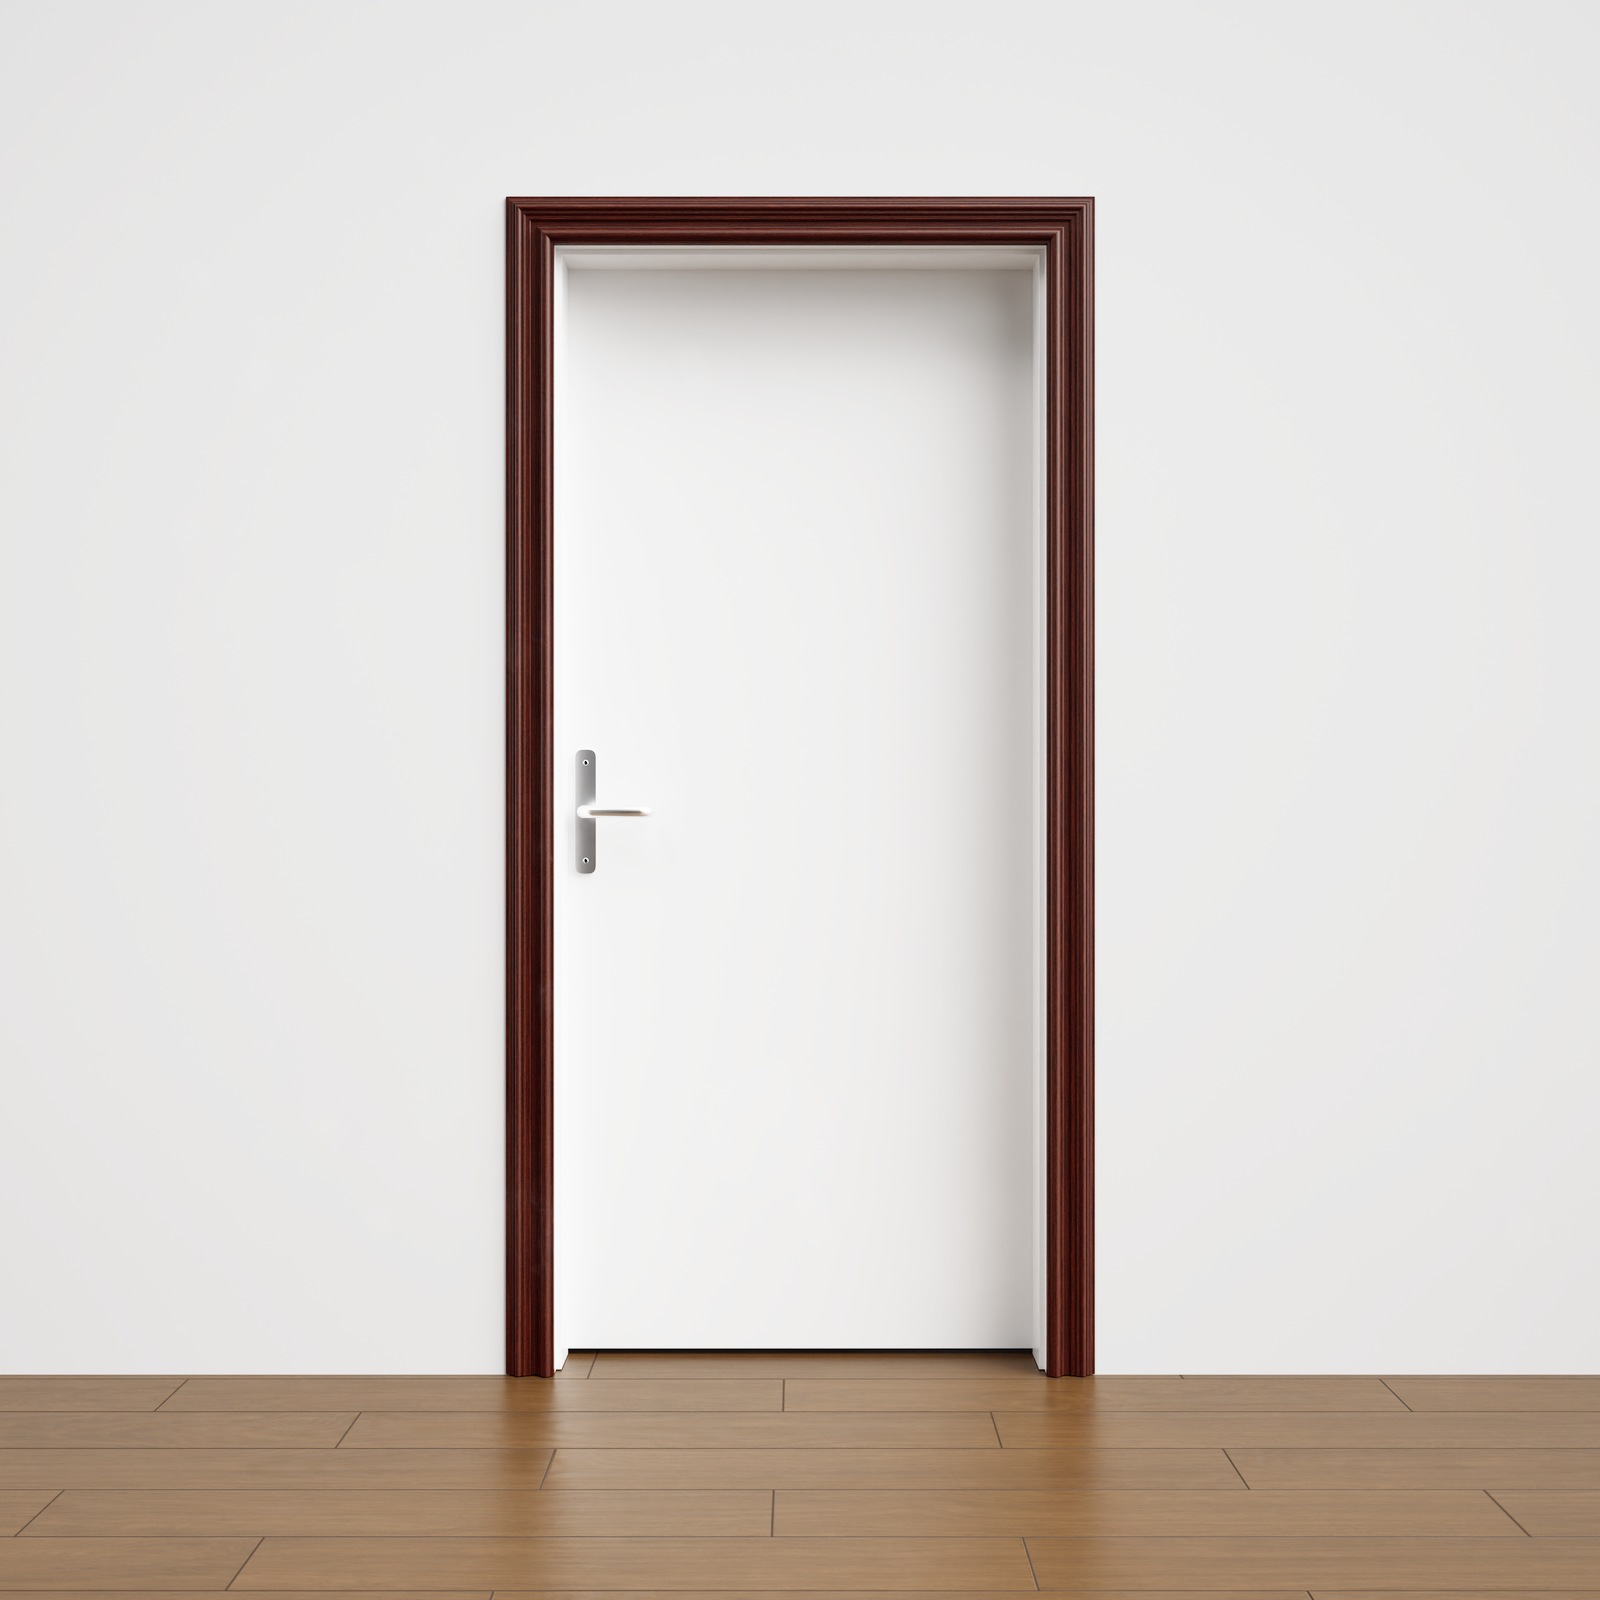
A wall frame like the one shown is four 45° joints, one at each corner; the skirting under it follows the floor for its whole length rather than a level line. Both are on this page.

The 11 finishes you can order, by the three-digit code. See the finish samples

  • 001
  • 002
  • 003
  • 005
  • 006
  • 008
  • 009
  • 013
  • 015
  • 024
  • 026
What you need

What to have ready before the first length is unwrapped

A full workshop is not required, but three things are: a saw that repeats an angle exactly, something that measures the room's real corners, and an adhesive that holds without a single nail.

Tools

  • Tape measureMeasure each wall separately and write each one down
  • Pencil or markerMark the back of the length, never the face that will show
  • Mitre saw, or a handsaw and mitre boxPS cuts without chipping, but 45° has to come out the same every time
  • Angle finder or a folding squareTo check whether the corner really is 90°, before the first cut
  • Caulking gunBoth the adhesive and the silicone come in cartridges
  • Utility knifeCleans the burr off a cut and trims adhesive before it skins
  • Caulking spatulaSmooths the silicone in a single pass; a finger does it, less evenly
  • Cloth and soapy waterWipe adhesive the moment it lands; dry, it is far harder

Fix with adhesive, not nails. The wood-grain surface is a factory-applied film, so there is no painting stage at the end to hide a nail head the way there is on timber.

Consumables

  • Construction adhesiveThe fixing. Run as a bead along the length; it holds harder than silicone
  • SiliconeFor walls that are not flat, and for closing the joints at the end
  • Masking tape or propsTo hold the length while the adhesive sets, for as long as the tube says
Left: one bead down the middle of the back, and both edges stand off the wall. Right: two beads down the length, set in from the top and bottom edges, then press home — the adhesive spreads across the full width on its own and the whole run sits against the wall.
Cutting corners

Internal and external are both 45° — a different face is longer

Get the two the wrong way round and the joint opens as a wedge, and a wedge cannot be closed with silicone because it is not the same width along its length. Read the drawings once and there is nothing left to remember.

Internal cornerThe ordinary corner of a room. Both pieces are cut at 45°, and the face against the wall comes out longer than the front. Assembled, the two points meet exactly at the corner of the wall.
External cornerA pillar, or a wall that returns into the room. The same 45°, mirrored: the front face is now the longer one, and the two points meet out at the outermost line of the corner.
A corner that is not 90°A plastered room rarely gives an exact 90°. Measure the real angle first, then halve it — that is the cut on each of the two pieces. A 100° corner is two 50° cuts, not two 45° ones. What that becomes on your own machine is in the table below.
Joining along a long wallA wall longer than one length has to be joined. Do not butt the two ends (top) — that leaves a straight line across the full face. Cut both at 45° and lap them (bottom): the joint covers itself and all but disappears when seen from the front.

The corner you measured, the number you set

Half the angle you measured is the cut on each piece — but two kinds of tool print two different numbers for that one cut. Check what the one in your hand calls a square cut, straight across with no angle on it: 90° or 0°. Then read that column.

Corner measuredOff the lengthSquare cut = 90°Turned from squareSquare cut = 0°
80°40°50°
85°42.5°47.5°
90°Both agree only here45°45°
95°47.5°42.5°
100°50°40°
135°Wall splayed at 45°67.5°22.5°

The two columns always add to 90°. The same number does an internal corner and an external one; all that changes is which face comes out longer, which is the first two drawings above.

Always cut a millimetre or two long and shave it back to fit. A piece cut short cannot be made longer again.

The order of work

8 steps, from a bare wall to a closed joint

This order leaves the least offcut, and never asks you to take off something already fixed in order to fix something that is not.

  1. Measure each wall on its own

    Take each wall separately and write it down, noting for each end whether it finishes at an internal corner, an external corner, or against a door frame. A single total for the room is enough to order with; it is not enough to cut with.

  2. Check every corner for square

    Hold a square or an angle finder into every corner the run will meet, and write the angle beside that wall's length. One or two degrees out can still be closed with silicone; more than that and the saw has to be reset.

  3. Plan the cuts out of 3 m lengths

    Pair the lengths you need against 3 m sticks before cutting anything. The longest and most visible wall should get whole lengths first, and joins belong where nobody stands to look at them — behind a sofa, or on the wall furthest from the door.

  4. Cut the whole wall, then dry-fit it

    Cut every piece for that wall, then offer them all up with no adhesive at all and check each corner closes. This is the step most often skipped, and the last one at which a mistake still costs nothing.

  5. Get the line clean and dry

    Adhesive does not stick to dust. Brush the line down, let new plaster dry out completely, and scrape back any old paint that has started to lift — otherwise the adhesive is holding onto a layer that is already coming off.

  6. Two beads, then press home

    Run two beads of construction adhesive down the length, set in from the top and bottom edges, and press the whole run to the wall. How the tube is opened, how long it stands, and how long it takes to set are on the tube — they differ by brand.

  7. Hold it while it sets

    Tape across the length at intervals, or prop it off the floor, and leave it for as long as the adhesive states. Do not silicone yet: the length can still move, and the bead would tear.

  8. Close the joints, and wipe at once

    Silicone the line between the moulding and the wall, and any corner that still shows a hairline. Use a colour close to the code you are fitting, smooth it in one pass with a finger or a spatula, and wipe the excess with soapy water straight away.

Steps 1 and 3 are the counting. Rather than do that arithmetic on paper, put the room in, take the door openings out, and read the number of 3 m lengths straight off the length calculator

2 different jobs

Skirting and a door sub-frame share the material, not the method

They differ in the order the cuts are made and in how much you have to order.

Skirting

Follow the floor, not a spirit level

Seen from above: the hatched mass is the wall, the ring marks the single point the moulding touches, and the two dimensioned gaps either side are what the silicone closes.
  • Floors are almost never truly level. Set a level line and follow it, and the gap simply reappears underneath the moulding instead. Let it sit on the floor along the whole run and close the gap at the top, which is above the line the eye sweeps.
  • Start with the longest and most visible wall. Offcuts go to the shorter walls, or to the ones furniture will stand against.
  • When a run meets an external corner, cut and assemble that corner before measuring the next piece. An external corner always eats more length than it looks like it will.
  • A slight bow in the wall is not something to bend the length around. Let it touch the highest point and close what is left with silicone.
Door sub-frame

Two legs, one head, two mitres at the top

One opening = two legs and one head, with the 45° joints at the two top corners. In the drawing, 1 and 3 are the legs and 2 is the head.
  • One set counts as three 3 m lengths — that is how the stock and the price are worked out, so ordering it as a set means the offcut is not yours to calculate.
  • Cut the two legs first, every time. They are the long pieces, and a mistake there wastes the most. The head is cut afterwards, to the real distance between the legs once they are up.
  • The two top corners are 45° in the external sense — front face longer. The bottom of each leg is cut square at 90° to sit on the floor.
  • The reveal from the edge of the frame has to be identical on all three sides. Use one offcut as the gauge at every point rather than measuring each one.
What you are fitting

Every step above is done to one of these

The model name carries the section in millimetres, and the price is worked out per 3 m length.

DF-06565 × 30 mm
DF-07373 × 30 mm
DF-07575 × 17 mm

Each section drawn in elevation, every plate to one scale. The rule at the left is ticked every 10 mm and reads the face; the dashed line is the tallest face in the row. The white bar is the cut end, and the dimension beneath it measures the thickness. The break at the right is where the 3 m length is cut short — the height is to scale, the length is not.

Shown in model-code order. There are 18 sections in all

On site

6 things that come up, and the fix that does not mean starting again

Most common first. Every one of them is solved with something already on the list above.

The mitre shows a hairline
If it is under about a millimetre and the same width all the way along, a close-coloured silicone smoothed in one pass finishes it. If it is a wedge — wide at one end, tight at the other — the angle is wrong, not the filling. Take off whatever has not set and re-cut to the angle actually measured.
The wall bows, leaving gaps behind the run
Do not bend the length to follow it. PS is not made to be curved — the material comparison on the home page says so. Let it touch the highest point, put more adhesive only where the wall falls away, and close the top edge with silicone.
The floor is uneven and there is a gap underneath
A gap under the moulding is harder to hide than one above it, because it sits exactly where the eye sweeps. If it runs the whole way, go up one section height and take the gap out. If it is only in places, silicone it in the colour of the floor rather than the colour of the moulding, and the eye reads it as the floor's edge.
One piece has been cut short
Do not push it tight to one side and leave the corner open. On a long run, turn that point into a 45° lap joint and add a second piece — a join along the wall is far less visible than a gap at a corner.
Adhesive on the face
Wipe it with soapy water before it skins. Once dry, do not reach for thinner or a strong cleaner: the wood-grain surface is a film, and solvent bleaches it permanently. Pare it off carefully with a knife instead.
Bathroom or balcony — can it go there?
Yes. The material is waterproof and termites will not eat it. What needs care is the joints: run an unbroken silicone bead along the bottom edge where it meets the floor, so there is no gap for water to sit behind.
Maithongcharoen

The method is the easy half — now the section and the colour

Choose by where it goes, check the section in millimetres, then order with the model code and a three-digit colour code. Send lengths and quantities in chat and we cut to them.

  • 00118 modelsWhite
  • 00217 modelsWhite Ash
  • 00317 modelsNatural Birch
  • 00517 modelsCrème Brûlée
  • 00617 modelsGolden Oak
  • 00817 modelsRed Oak
  • 00917 modelsWalnut
  • 01317 modelsMahogany
  • 01517 modelsEbony
  • 02417 modelsCharcoal
  • 02617 modelsCarrara

The figure beside each code is how many sections in the catalogue can be had in that colour. The chips are indicative; the finish samples are on the colours page.

Ask us
Ask about prices, colours or sizes — instant answers.